What Is Plasterboard?
The plasterboard is unarguably one of the most common building materials across the globe. Sometimes referred to as gypsum board, gyprock, drywall or wall board, the plasterboard is mostly incorporated for ceiling cladding and interior walls in several homes and offices in recent times. However, despite its global acceptability, it’s a very misunderstood building material.
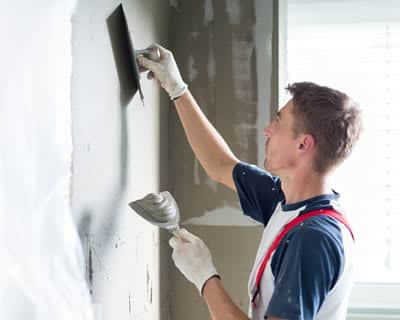
The plasterboard is manufactured using a gypsum core with a heavy paper covering both sides of the sheet. The measurement of a standard plasterboard sheet is a length of 2.4 metres in and a width of 1.2 metres, with a thickness of about 13mm. The board usually have either a bevelled or a bit flat edge. The bevelled edge makes it easy for the installers to use a plaster to smooth out the surface after nailing the sheets to walls and ceilings as well as taping the edges.
The plasterboard comes in different types. Although various manufacturers provide a unique name for their products, but they’re all included in one of the following categories:
• Water Resistant Plasterboard - This type of plasterboard are best suited to be used in water areas like bathroom, laundry rooms and kitchens.
• Acoustic Plasterboard - Due to its sounding proofing qualities, this type of plasterboard is preferred to be used in home theatres or noisy areas.
• Flexible Plasterboard - This is to be incorporated on curvy surfaces.
• Fire Resistant Plasterboard - Just like the name implies, this type of plasterboard is best suited for use in high fire hazard areas.
If you’re about to kick start some small renovations around your house or office, using a plasterboard to clad your walls is a very simple and worthwhile task. However, if you want to do major renovations or need to apply plasterboard to your ceiling, the best option would be to leave it to a seasoned professional.